Revit is a powerful Building Information Modeling (BIM) tool that revolutionizes architectural design and construction workflows. One of its most valuable features is the ability to create sophisticated curtain wall systems, helping architects and designers produce detailed 3D models with precision and efficiency. Whether working on commercial facades, residential buildings, or complex structures, Revit provides comprehensive tools to design, customize, and visualize curtain walls in innovative ways.
In this article, we will explore the essentials of using Revit for curtain wall design, including basic curtain wall modeling, adding doors within curtain walls, and creating curved curtain wall structures to achieve modern architectural aesthetics.
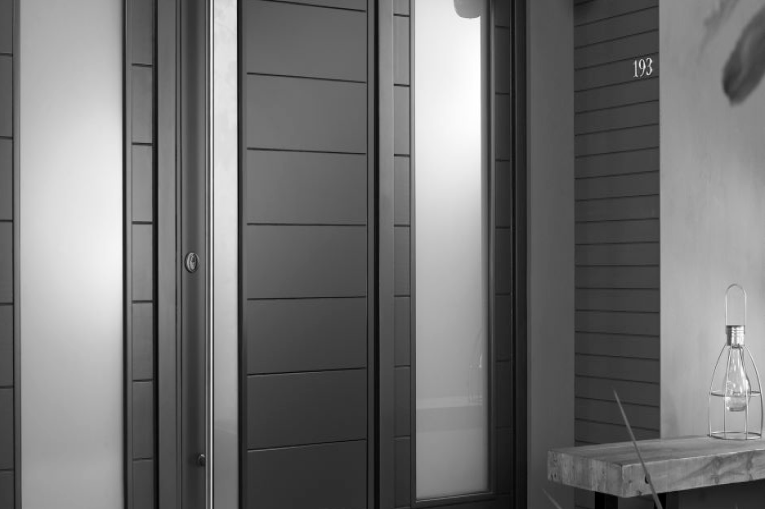
Manual
Curtain Wall Revit: Understanding the Basics
The curtain wall feature in Revit allows architects and designers to create flexible and dynamic wall systems composed of glass, aluminum, or other materials. These walls are non-load-bearing and primarily used for aesthetics and environmental control. With Revit’s parametric capabilities, users can design curtain walls with precise dimensions, customizable grids, and panel materials to match specific project requirements.
Key Features of Revit Curtain Walls:
- Adaptive Design:
- Easily adjust curtain wall grids, mullions, and panels to fit various facade designs.
- Customize panel materials, sizes, and spacing to align with architectural intent.
- Parametric Modeling:
- Changes made to curtain wall elements automatically update across the project.
- Ensures consistency and accuracy during design modifications.
- Performance Analysis:
- Use Revit’s analysis tools to evaluate energy efficiency, daylight penetration, and thermal performance.
- Optimize curtain wall designs to meet sustainability goals.
- BIM Integration:
- Collaborate with structural and MEP engineers for better project coordination.
- Generate schedules, material take-offs, and clash detection reports.
Steps to Create a Curtain Wall in Revit:
- Open the “Architecture” tab and select “Wall” > “Curtain Wall.”
- Choose a predefined curtain wall type or create a custom one by modifying grid patterns and mullions.
- Adjust the grid spacing, panel materials, and mullion profiles to achieve the desired look.
- Place the curtain wall within the model and fine-tune visibility settings to enhance the 3D visualization.
By leveraging these capabilities, designers can efficiently create modern and functional curtain wall designs in Revit.
Curtain Wall Doors in Revit: Adding Functional Openings
Adding doors within curtain walls is a critical step in ensuring practical access to building spaces while maintaining the visual appeal of the facade. In Revit, users can incorporate doors into curtain walls by replacing selected panels with door families, allowing for seamless integration into the design.
How to Add Doors to a Curtain Wall in Revit:
- Select the Curtain Wall:
- Click on the curtain wall element within your model.
- Choose the Panel to Replace:
- Identify the panel where the door should be placed and select it.
- Replace Panel with a Door Family:
- Go to the “Type Selector” and choose an appropriate curtain wall door family.
- Revit provides built-in door families, or you can load custom door families for specific project needs.
- Adjust the Door Placement:
- Modify alignment, frame dimensions, and hardware settings to fit design requirements.
- Check for Proper Coordination:
- Ensure the door fits seamlessly within the curtain wall grid without structural conflicts.
Tips for Curtain Wall Doors in Revit:
- Use parametric constraints to align doors precisely within the curtain wall grid.
- Customize door materials to match the adjacent panels for a cohesive appearance.
- Consider accessibility standards and fire safety regulations when placing curtain wall doors.
By following these steps, architects can incorporate doors effortlessly into curtain walls, maintaining both function and form in their designs.
Curved Curtain Wall Revit: Creating Dynamic Facades
One of the standout features of Revit is its ability to create curved curtain walls, which are increasingly popular in modern architecture for their aesthetic appeal and ability to follow organic building forms.
Steps to Create a Curved Curtain Wall in Revit:
- Select the Curtain Wall Tool:
- From the “Architecture” tab, choose the curtain wall tool and draw the desired path using the arc or spline option.
- Adjust Grid and Mullions:
- Configure the curtain wall grid to align with the curvature for a consistent design pattern.
- Place mullions strategically to follow the curved contour.
- Customize Panels for Flexibility:
- Use flexible materials like curved glass or aluminum panels to achieve a smooth finish.
- Adjust panel sizes and thickness for structural integrity.
- Fine-Tune the Design:
- Utilize Revit’s 3D view to check the accuracy of the curve and refine it based on project needs.
- Make necessary adjustments to achieve the desired curvature while maintaining structural stability.
Advantages of Curved Curtain Walls:
- Aesthetic Appeal: Provides a unique and sophisticated look to buildings.
- Enhanced Daylighting: Maximizes natural light by offering wider exposure angles.
- Structural Innovation: Allows for creative architectural solutions while maintaining stability.
By using Revit’s advanced modeling tools, designers can easily create curved curtain walls that complement complex architectural designs.
Benefits of Using Revit for Curtain Wall Design
Revit offers numerous advantages for curtain wall design and modeling, making it the go-to solution for architects and designers. Some of the key benefits include:
- Precision and Accuracy: Achieve highly detailed models with exact measurements and specifications.
- Time-Saving Automation: Streamline repetitive tasks through parametric components and automated schedules.
- Collaboration-Friendly: Enables seamless coordination with other disciplines through BIM integration.
- Visualization Capabilities: Generate realistic 3D renders and walkthroughs to visualize the final look.
- Documentation Efficiency: Create accurate shop drawings, material take-offs, and project schedules effortlessly.
By incorporating Revit into curtain wall design workflows, professionals can enhance their productivity and achieve superior results.
Conclusion
Revit is an essential tool for designing and modeling curtain walls, offering a comprehensive suite of features that streamline the creation of intricate facade systems. From basic curtain wall structures to sophisticated curved designs and door integrations, Revit allows architects to bring their creative visions to life with precision and efficiency.
By mastering Revit’s curtain wall capabilities, designers can produce energy-efficient, visually appealing, and functional building envelopes that align with modern architectural standards.
FAQs
1. Can Revit create custom curtain wall designs?
Yes, Revit allows for fully customizable curtain wall designs, including unique grid patterns, materials, and door placements.
2. How do I add mullions to a curtain wall in Revit?
You can add mullions by selecting the curtain wall, going to the properties panel, and applying predefined or custom mullion profiles.
3. Is it possible to create complex curved curtain walls in Revit?
Yes, Revit provides flexible drawing tools to create curved curtain walls using arcs and splines.
4. Can I use Revit for both residential and commercial curtain wall projects?
Absolutely, Revit is suitable for all types of projects, from small residential buildings to large-scale commercial facades.
5. What are the advantages of using BIM for curtain wall projects?
BIM offers improved coordination, cost savings, and enhanced visualization for better decision-making throughout the project lifecycle.


with you shortly